
Bronze Casting: Lost Wax Casting
|
This took place in September 2002. The flyer announced:
"Dave Chapman offers a two-day experience, revealing some ancient secrets of bronze-casting in deep collusion with the elements. The workshop will cover working in wax, mould-making, casting and finishing using a variety of techniques." |
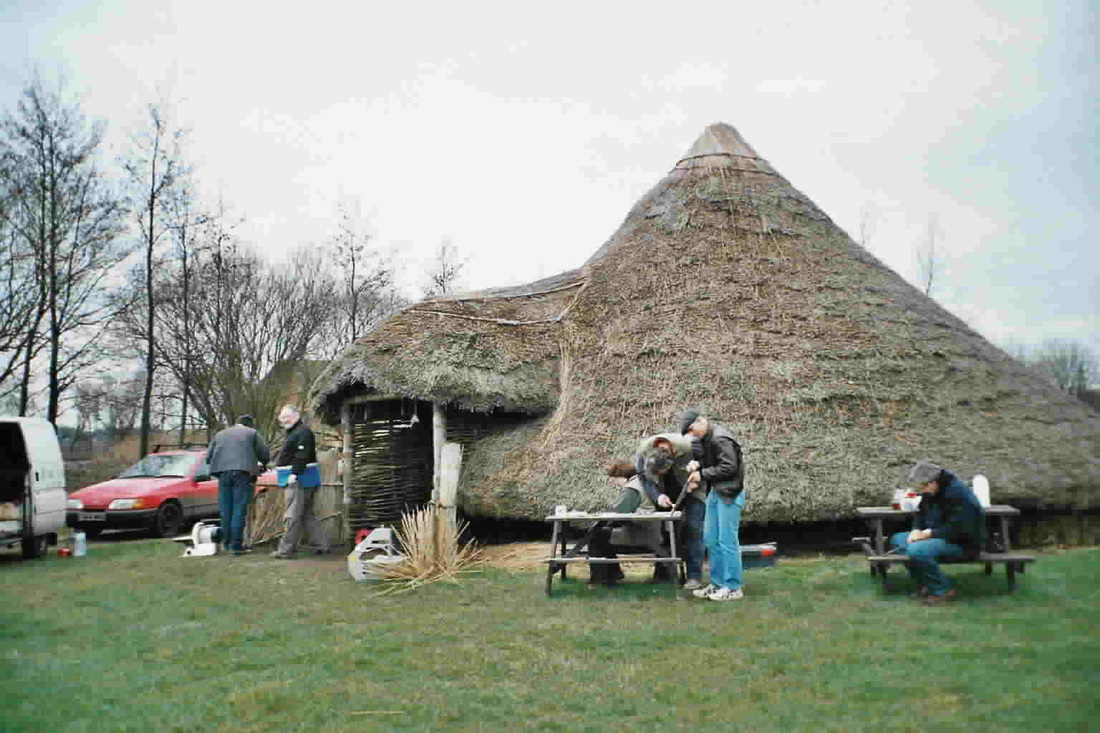
On site, Sue at the Visitors Centre made the five of us feel very welcome, and then we stepped into the Iron Age roundhouse where Dave Chapman had set up his kiln and furnace. He explained the lost wax casting process we would be using, and showed us around. Bronze is an alloy of copper (roughly 90%, it varies) and tin. It is a softer metal than iron, and heavier, but it could easily be cast (ie. poured into moulds) by the ancients, whereas iron had to be beaten. This meant that even after iron had replaced bronze, this older metal was still used for intricate objects and art-work. And as we discovered when we began to clean our bronzes the next day, it is a beautiful metal and shines like gold when highly polished.
The lost wax process firstly involved us thinking about our design. Myself and Steve Taylor wanted to produce bronze age axe heads and dagger blades. The other members of the group wanted to cast an Anglo Saxon-style belt fitting, the rabbit-shaped top to a walking stick, a nude bust and a couple of local folklore figurines. For several hours we worked in wax to create a model of our object. This is painstaking, and a good hand and eye is required. You have to be quite an artist! Steve and myself had lots of symmetry problems, and worked hard to create that smooth blade effect. Any imperfections would show up in the bronze and require many hours filing to remove. As we worked on the wax models they became soft and required dunking in cold water every now and then to firm them up once again.
The lost wax process firstly involved us thinking about our design. Myself and Steve Taylor wanted to produce bronze age axe heads and dagger blades. The other members of the group wanted to cast an Anglo Saxon-style belt fitting, the rabbit-shaped top to a walking stick, a nude bust and a couple of local folklore figurines. For several hours we worked in wax to create a model of our object. This is painstaking, and a good hand and eye is required. You have to be quite an artist! Steve and myself had lots of symmetry problems, and worked hard to create that smooth blade effect. Any imperfections would show up in the bronze and require many hours filing to remove. As we worked on the wax models they became soft and required dunking in cold water every now and then to firm them up once again.
|
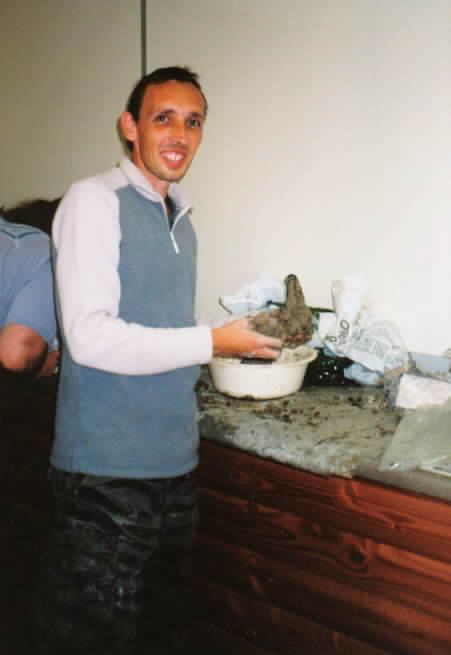
After lunch we began to mix clay with grog (grit sand) and horse manure. The manure would keep the clay flexible as it shrunk when it was baked. Messy job. Everyone got a turn at this job! Once the clay was mixed well, we had to carefully pack it around the wax model, taking care not to leave any air gaps or to bend the soft wax form out of shape. The model couldn't be left totally enclosed, extra wax needed to be added that reached up to the top of the clay mould. This would allow the melting wax to drain out in the kiln, and then allow Dave to pour in the molten bronze.
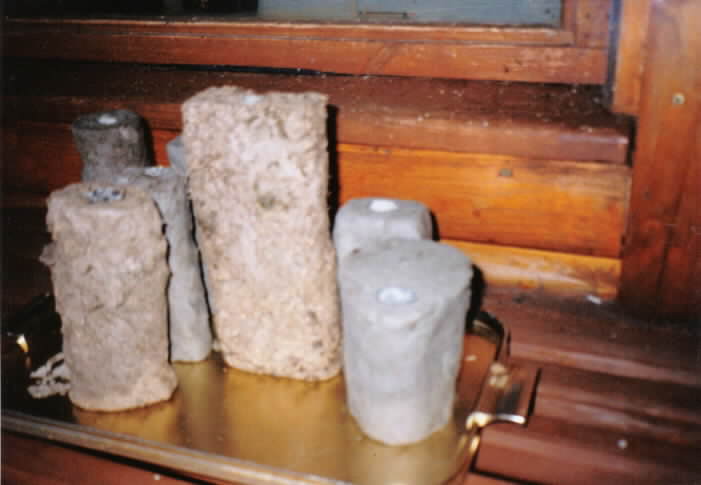
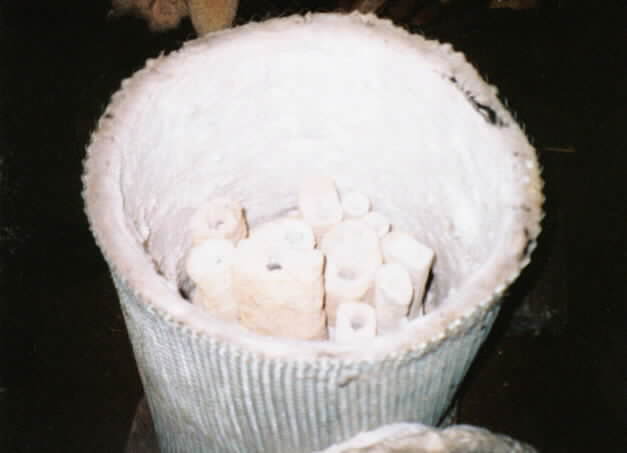
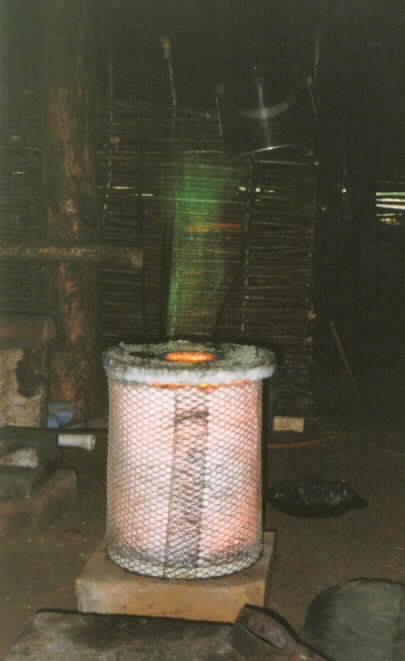
This is what would happen. Once the moulds were all ready, they would be put upside-down inside the roundhouse kiln and baked overnight. The clay hardens, the wax melts and drains away (turns to stinking vapour I think Dave said!), and in the morning we would have hard clay moulds with an opening at the top. In the morning, after a good night's sleep, we stepped into the roundhouse. One of our group, Matt, had not had a good nights sleep. Walking to our cars the night before we surprised a couple of car thieves breaking into Matt's vehicle and a tussle ensued with Steve getting whacked and Matt getting dragged across the car park. Despite their best efforts, the thieves got away with his overnight bag. He was fit for casting the day after, though...
Dave opened the kiln and we saw our finished moulds ready and waiting. |
He had the furnace going. This asbestos tub with a crucible inside containing copper wire and a piece of tin was being superheated - the metals melting and mixing. When the melt had reached the right point, Dave stood each mould on the floor and took out the crucible with tongs. Quickly, so that the metal had no chance to cool, but not so quickly that molten bronze would be spilt everywhere, he poured the fiery molten liquid into the moulds.
|

|
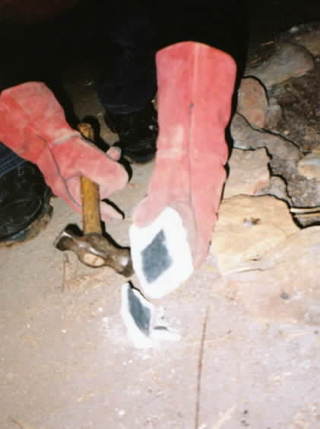
Within minutes it had cooled and needed to broken open with a hammer. The mould was smashed and destroyed, revealing a blackened and seemingly disfigured artifact within. It needed quenching in water if we were to get working on it right away. And this meant cleaning. That extra bit of wax we'd added to create a funnel needed sawing off, and now we needed to file away any bronze that stuck out where the mould had met the wax model imperfectly. There was a lot of that! The rest of the day involved filing, sanding, filing, sanding, polishing with wire wool, filing and sanding. We quickly realized that under the carbonised surface, all of the pieces cast well. There were no accidents, no major problems. Everyone would be taking something home with them.
To Steve and I's horror we realised that whereas those with intricate pieces had created a clay slip and actually begun their mould by painting clay onto their wax, we had simply (but carefully) packed our clay around our mould. This meant that our axeheads were not beautifully smooth, but marked with little lumps, indentations and imperfections from grass in the horse manure or badly mixed grog. We had to do an awful lot of filing. I think I filed the ends off some of my fingertips too. Ah well - history hurts!
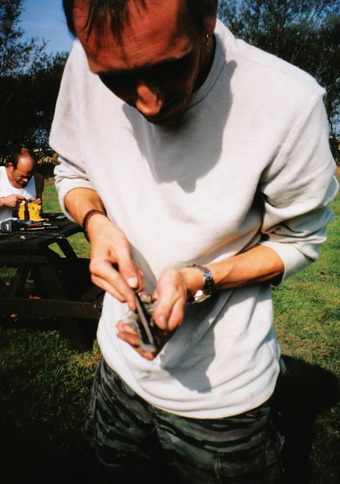
After another wonderful lunch (courtesy of Dave's charming wife Erica) we used an angle-grinder to give us a sharp edge (and save us a week's worth of filing...) and continued to polish. By 5:00 we were done. My dagger blade and axe head were shining beautifully, and Dave applied a chemical mix that gave both items an antique 'wash'. I was pleased with the finished results, in fact we all did well, and there was much mutual congratulation. It had been hardwork, but the members of the group were easy to work with and we helped one another and shared our difficulties. It had been a very fulfilling and rewarding weekend.
As we admired our bronze treasures we told Dave that what we really wanted to cast was a sword. Dave used stone moulds to cast the swords that he sells to the general public. He said he might run a sword casting course for us next year, and his friend and assistant Mick (a woodworker) said he could use one of the days of such a course to teach us how to carve wooden hilts for the bronze swords. And so it was agreed ...
As we admired our bronze treasures we told Dave that what we really wanted to cast was a sword. Dave used stone moulds to cast the swords that he sells to the general public. He said he might run a sword casting course for us next year, and his friend and assistant Mick (a woodworker) said he could use one of the days of such a course to teach us how to carve wooden hilts for the bronze swords. And so it was agreed ...
- Paul Elliott
|
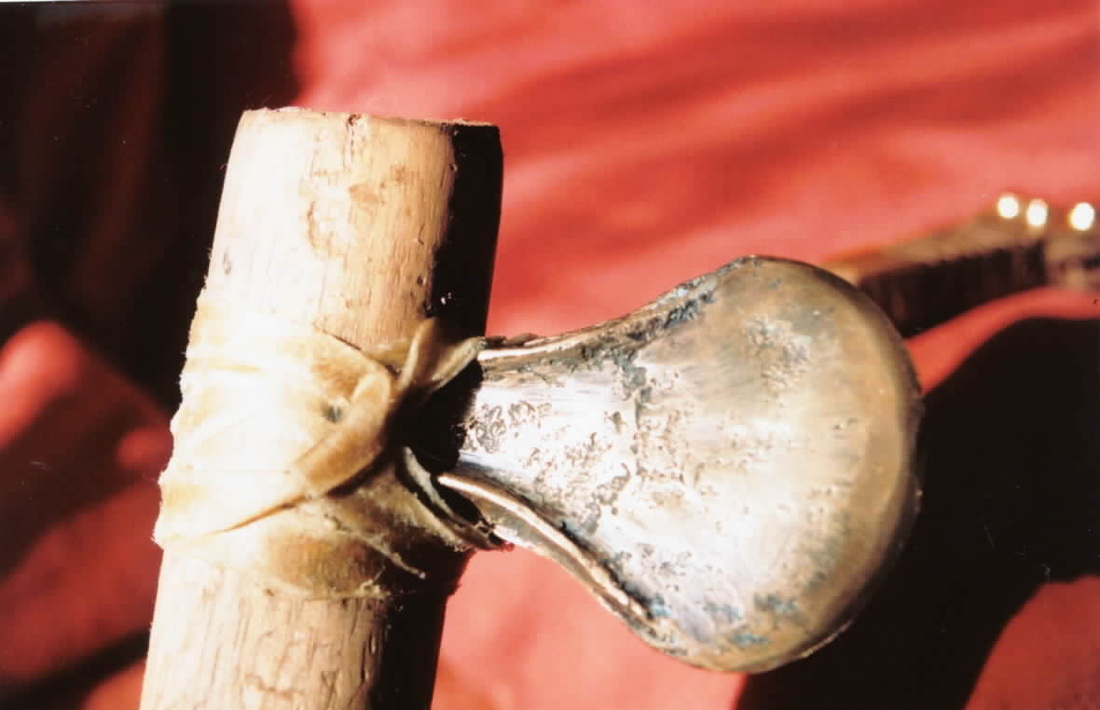
As a post-script, I had a bronze axe-head and dagger blade, and now I had to haft them. My skills in this department back in 2002 were zero, but I was determined not to just shove them in a drawer and forget about them. So for the next two weeks I created a pine haft for my axe, and bound it with rawhide (I used the rawhide dog-chews you can get from pet stores, soaked it in water, opened it out and cut it into a single concentric strip). The rawhide hardens like concrete and makes a great binding. I finished off by staining the pine.
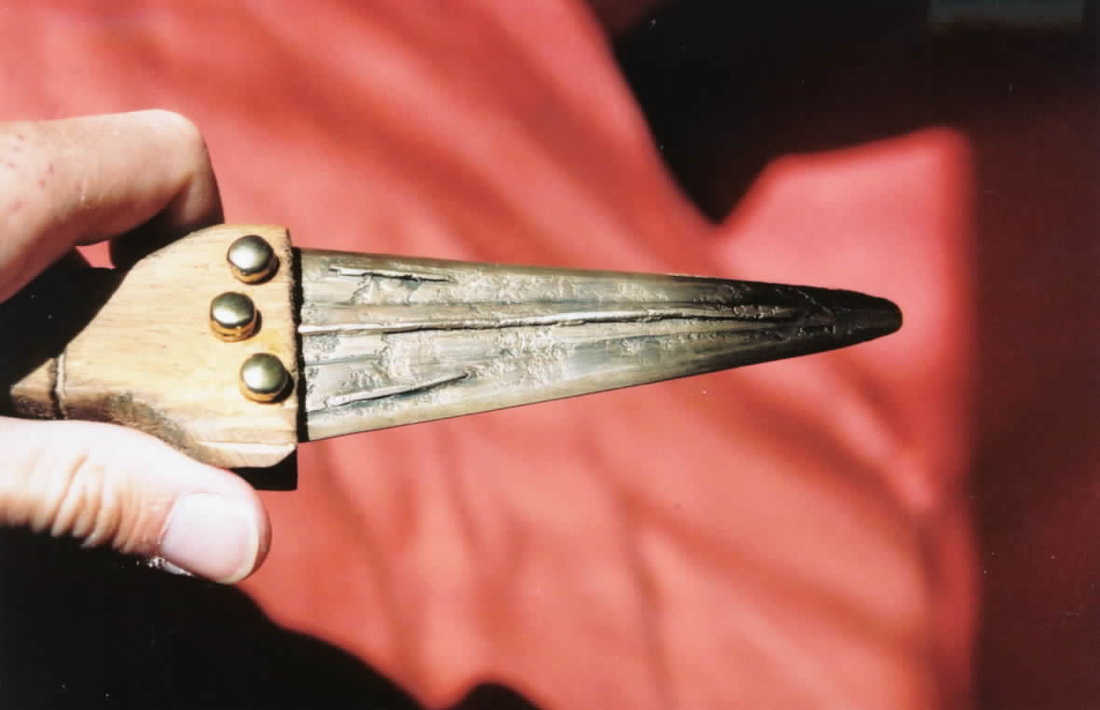
The dagger was harder to haft. I cut a handle from some pine I had, cut a slot for the blade, screwed it in place, then covered the screwheads with brass pin covers (hell, I should have used copper rivets - but I had no idea how to make them!). I also stained this handle. And I was done! One middle bronze age flanged axe and Wessex-style dagger.
|
